Please note, this is the guide for ESPHome, if you're looking to setup a Tasmota device, please take a look at our other guide: Getting started with Tasmota
Introduction to ESPHome
ESPHome is a system to control your microcontrollers by simple yet powerful configuration files and control them remotely through Home Automation systems.
Unlike Tasmota, which is flashed and then configured. ESPHome is dynamically configured via a yaml file, and then compiled after that. As a result, you'll likely want to install the ESPHome addon for HomeAssistant.
What you'll need
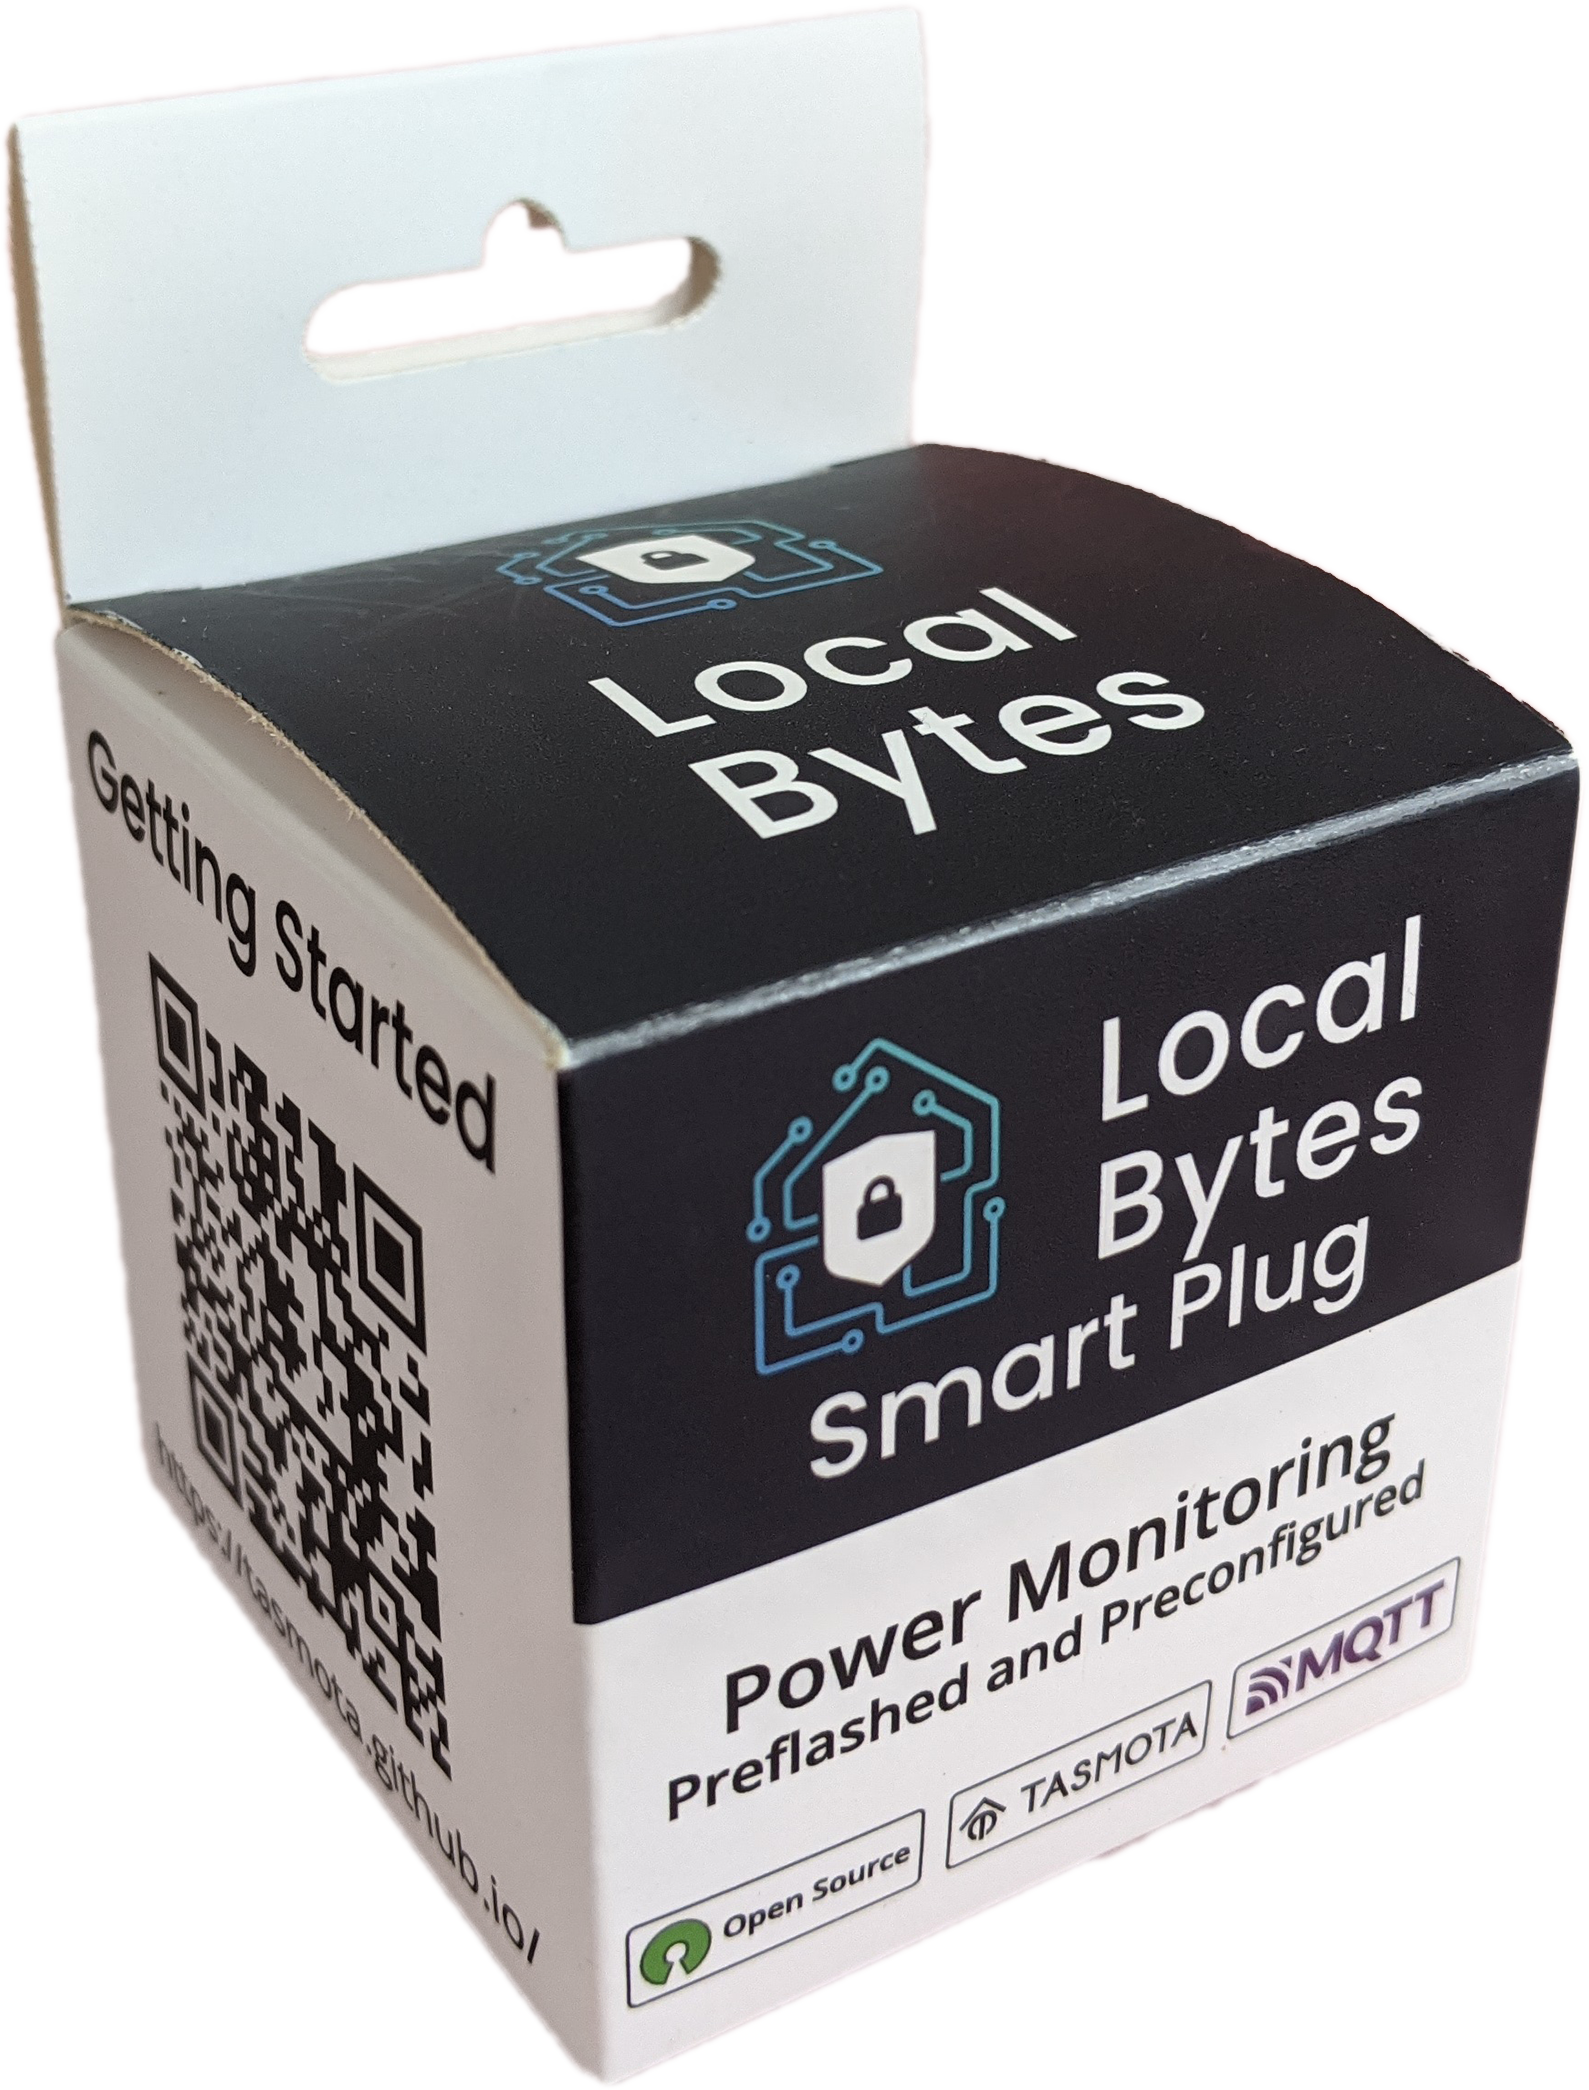
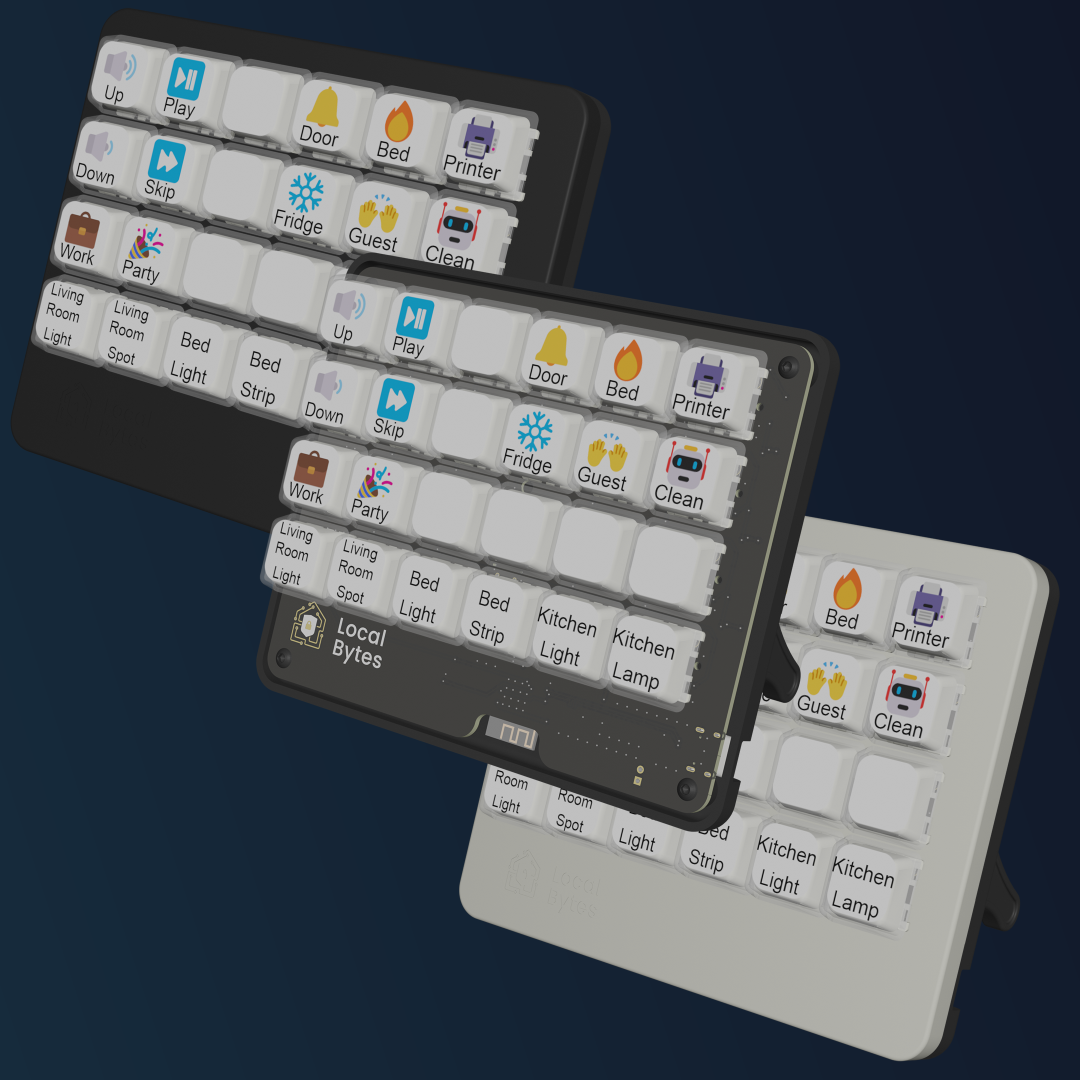
If you're reading this, you're probably looking at one of the following devices:
For this example, we'll be using Home Assistant
Basic Setup
Connecting ESPHome to Wi-Fi
- Power on the device. This may be plugging it in to the wall, or turning on a light switch.
- Open the Wi-Fi settings on your Mobile Device/Computer.
- Wait until you see a Wi-Fi network especially named after the device E.g. "LocalBytes PM"
- Either open a browser to 192.168.4.1, or click on the "Sign in to this network" prompt.
- You'll be presented with a list of Wi-Fi networks, select yours and type in the password.
- Take note of the IP address that you are presented with.
Your browser should automatically redirect to the devices new IP address.
Connecting ESPHome to HomeAssistant
Pro-tip: If you plan on updating/reconfiguring your device, we'd suggest adopting it in ESPHome before adding it to Home Assistant
- Navigate to Settings -> Devices & Integrations
- HomeAssistant will automatically detect the device, click "Configure"
- Assign an area
Updating/Reconfiguring ESPHome
As previously mentioned, ESPHome is configured via a yaml file.
You can access this via the ESPHome addon
- Install the ESPHome addon
- A new device will appear in the dashboard, click adopt.
- Follow the prompts to rename the device, and re-enter your Wi-Fi credentials.
- Click "Install"
- Make a cup of tea (other beverages are available), ESPHome may take a while to recompile for the first time.
You can now edit the configuration file by clicking on the device in the dashboard, and then clicking "Edit"
Advance Usage
Changing the Default power-on Behaviour
The ESP home configuration that we provide is powered by substitutions. This allows you to modify values Whilst still receiving updates from us.
To update the default power on behaviour, please use the following substitution in your configuration:
substitutions:
   # Aka: `restore_mode` in documentation
   # Options: `RESTORE_DEFAULT_OFF`, `RESTORE_DEFAULT_ON`, `ALWAYS_ON` & `ALWAYS_OFF`
   default_state: "RESTORE_DEFAULT_OFF"
Changing individual Parameters
When a substitution is not provided for a specific component, you can use extend to override certain properties
For example, to change the update interval on our power monitoring devices, you can use the following:
sensor:
   - id: !extend power_monitor
     update_interval: 10s
Total Cumulative Energy Usage
Unfortunately, ESP home does not have a cumulative total for energy devices. However, you can replicate this functionality in home assistant using a utility meter helper.
Go to Settings -> Devices & Services -> Helpers then click "Add Helper" Click on Utility Meter, give it a name, and then select the Total Energy Today sensor from the plug. Leave the cycle as "No Cycle", and then click save.
You can change the cycle to Monthly if you'd like a "Total this month" sensor.


