Whether you're a tech enthusiast or a beginner, this guide will help you get your LocalDeck up and running in no time. Let's dive in!
Unboxing Your LocalDeck
What's in the Box?
Your LocalDeck package includes:
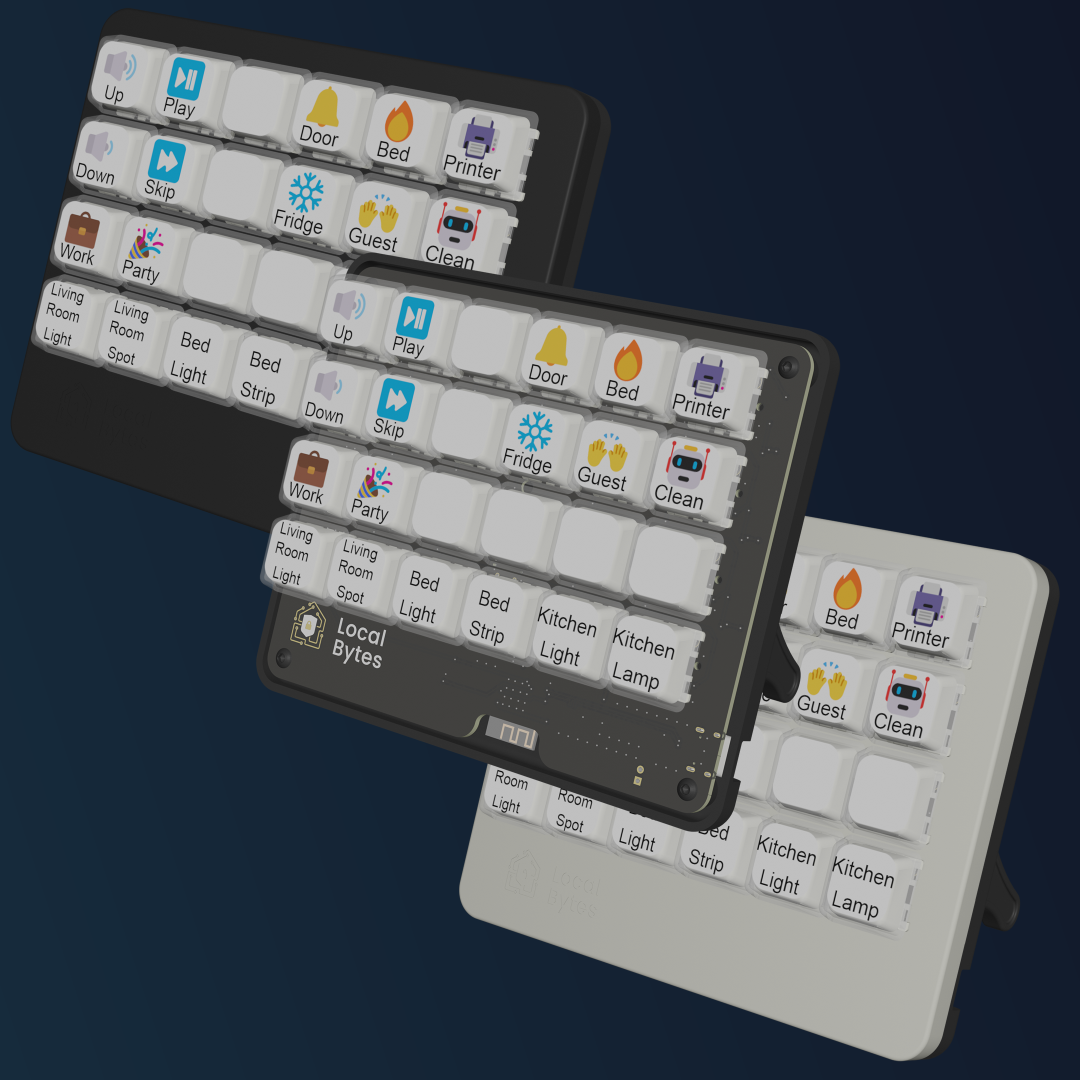
- LocalDeck with 24 key switches and keycaps pre-installed
- A bag of 24 clear covers for the keycaps
- Optional faceplates (available in white and black if you ordered the bundle)
Note: The key labels are not pre-installed; you'll use the configurator to customize them.
Attaching the faceplate
- Remove the Keys: Your LocalDeck ships in a "naked" configuration, meaning it doesn't have the faceplate installed. Start by removing all the keys.
- Attach the Faceplate: Line up the faceplate with the LocalDeck and snap it into place by squeezing down on all four sides.
- Reattach the Keys: Once the faceplate is securely in place, reattach the keys by pushing them back onto the switches.
Powering On and Initial Setup
Connecting Your LocalDeck
- Plug It In: Connect your LocalDeck to power via USB.
- Bluetooth Setup (if available): If your Home Assistant server supports Bluetooth (e.g., on a Raspberry Pi), you can easily configure the device. Press the button in the bottom left corner of the LocalDeck to start the provisioning process.
- Captive Portal Setup: If Bluetooth is not available, use the captive portal method for setup. (Refer to the linked video for detailed instructions.)
Configuring in Home Assistant
- Adopt Your LocalDeck: In the ESPHome add-on, adopt your LocalDeck like any other ESPHome device.
- Name Your Device: Give your LocalDeck a unique name, such as "Office LocalDeck," to easily identify it later.
- Update Firmware: Copy the encryption key and update the firmware to ensure your LocalDeck has the latest features.
Using the Configurator
Setting Up the Configurator
- Install the Configurator: Add the LocalDeck configurator to Home Assistant and start it.
- Import Configuration: Open the configurator and import your config file.
Customizing Buttons
- Bind Devices: Select a button on the LocalDeck and bind it to a device or entity (e.g., a smart plug or light switch).
- Choose Actions:
- Toggle Entity: Pressing the button will toggle the device on or off.
- Follow State: The LED on the LocalDeck will follow the state of the device (on/off, brightness, color).
- Print Labels: Once you're satisfied with the button configurations, print and cut out the labels for your keycaps.
Finalizing Setup
- Reinstall Firmware: Head back to the ESPHome add-on and reinstall the firmware to apply the new configurations.
- Enable Service Calls: In the Home Assistant settings, allow your LocalDeck to make service calls for direct control over devices.
Testing and Troubleshooting
Verify Functionality
- Test Buttons: Press the configured buttons to ensure they control your devices as expected.
- Adjust LED Brightness: Use the brightness slider to dim the LEDs on the LocalDeck, which is useful if it's in your direct eyeline.


