Please note, this is the guide for Tasmota, if you're looking to set up an ESPHome device, please take a look at our other guide: Getting started with ESPHome
Introduction to Tasmota
Tasmota is an open source firmware for ESP devices.
It features total local control with quick setup and updates.
The ability to control devices using MQTT, Web UI, HTTP or serial.
You can automate using timers, rules or scripts, and integrate with home automation solutions.
At Local Bytes, we have chosen Tasmota as our go-to firmware for a few main reasons:
- Devices can be controlled on their own, via the WebUI (inc. via Mobile Apps).
- Devices can be connected to multiple different smart home systems flexibly.
- It's feature rich, and very well documented!
Tasmota vs ESPHome
As noted above, we have several reasons for shipping with Tasmota by default as opposed to ESPHome (another commonly used firmware). This has a few advantages over Tasmota when using Home Assistant:
- Devices on the network will become automatically discoverable
- Users can update the functionality of the devices via a declarative yaml file
- Home Assistant can talk directly to ESPHome without the need of an MQTT Broker
When using a MQTT broker, HomeAssistant must publish commands and subscribe for state changes, the Tasmota device must subscribe for commands and publish changes.
Whereas ESPHome will use a bidirectional api to talk directly to HomeAssistant.
What you'll need
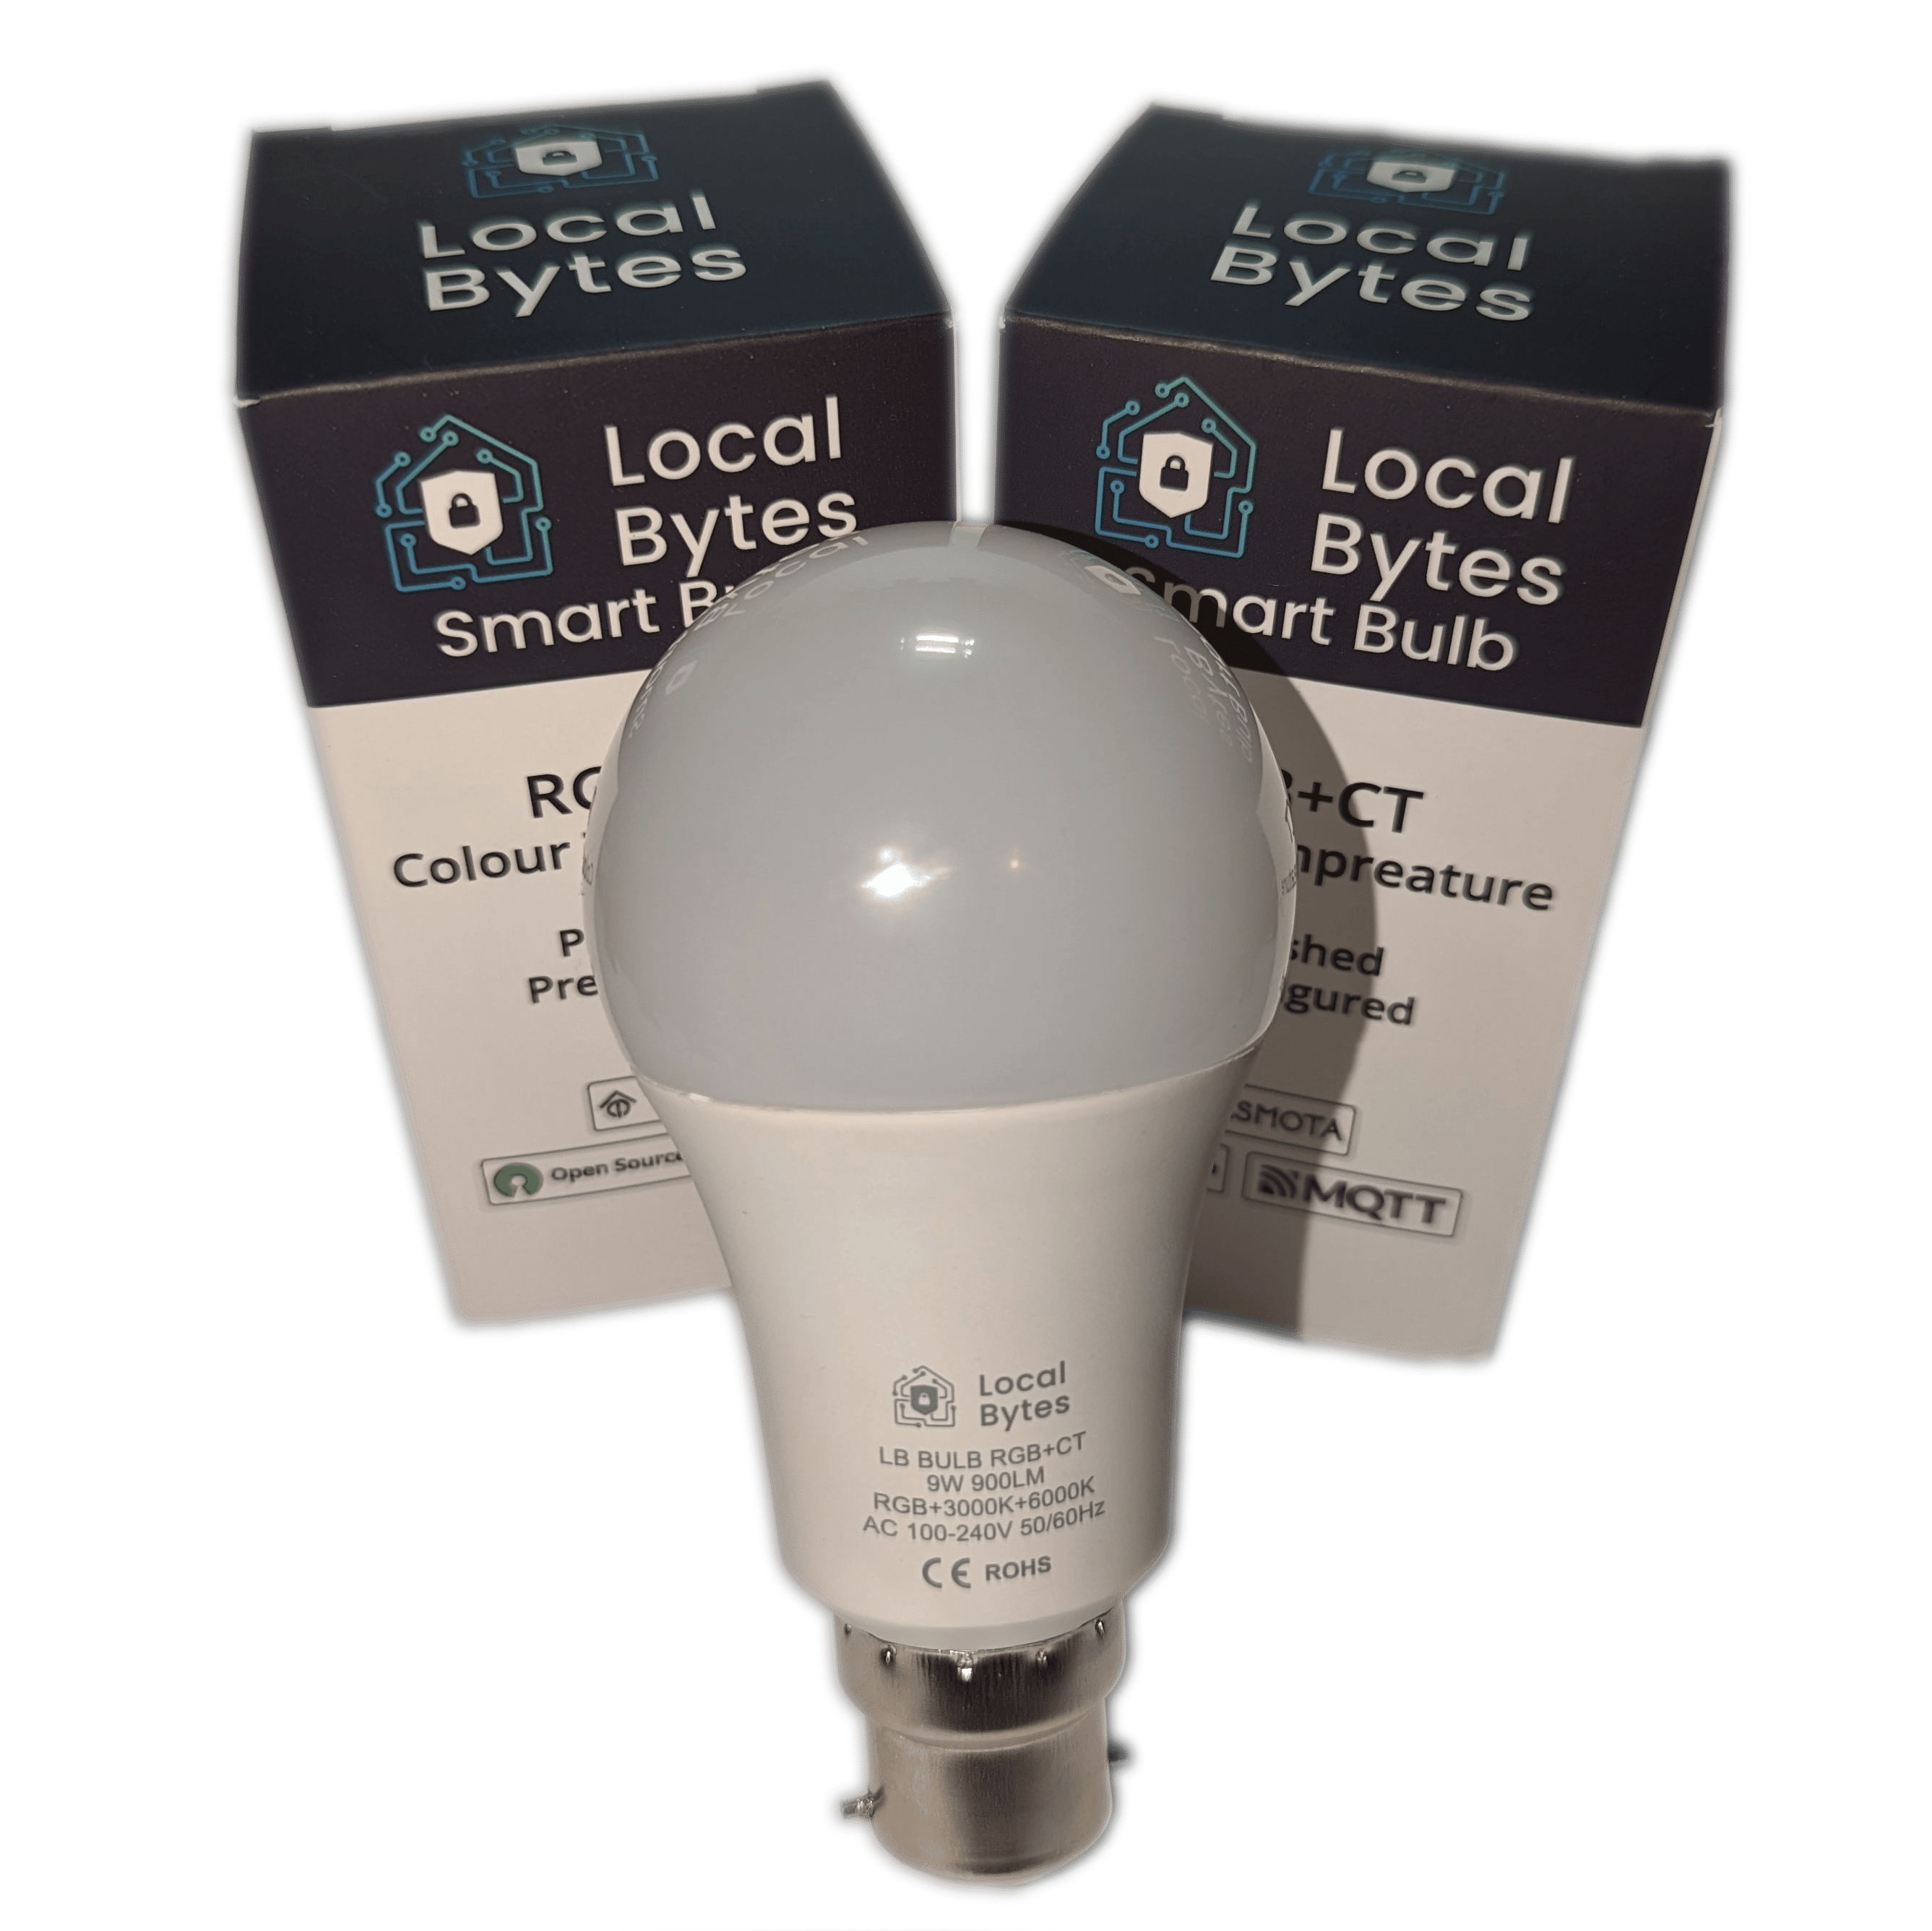
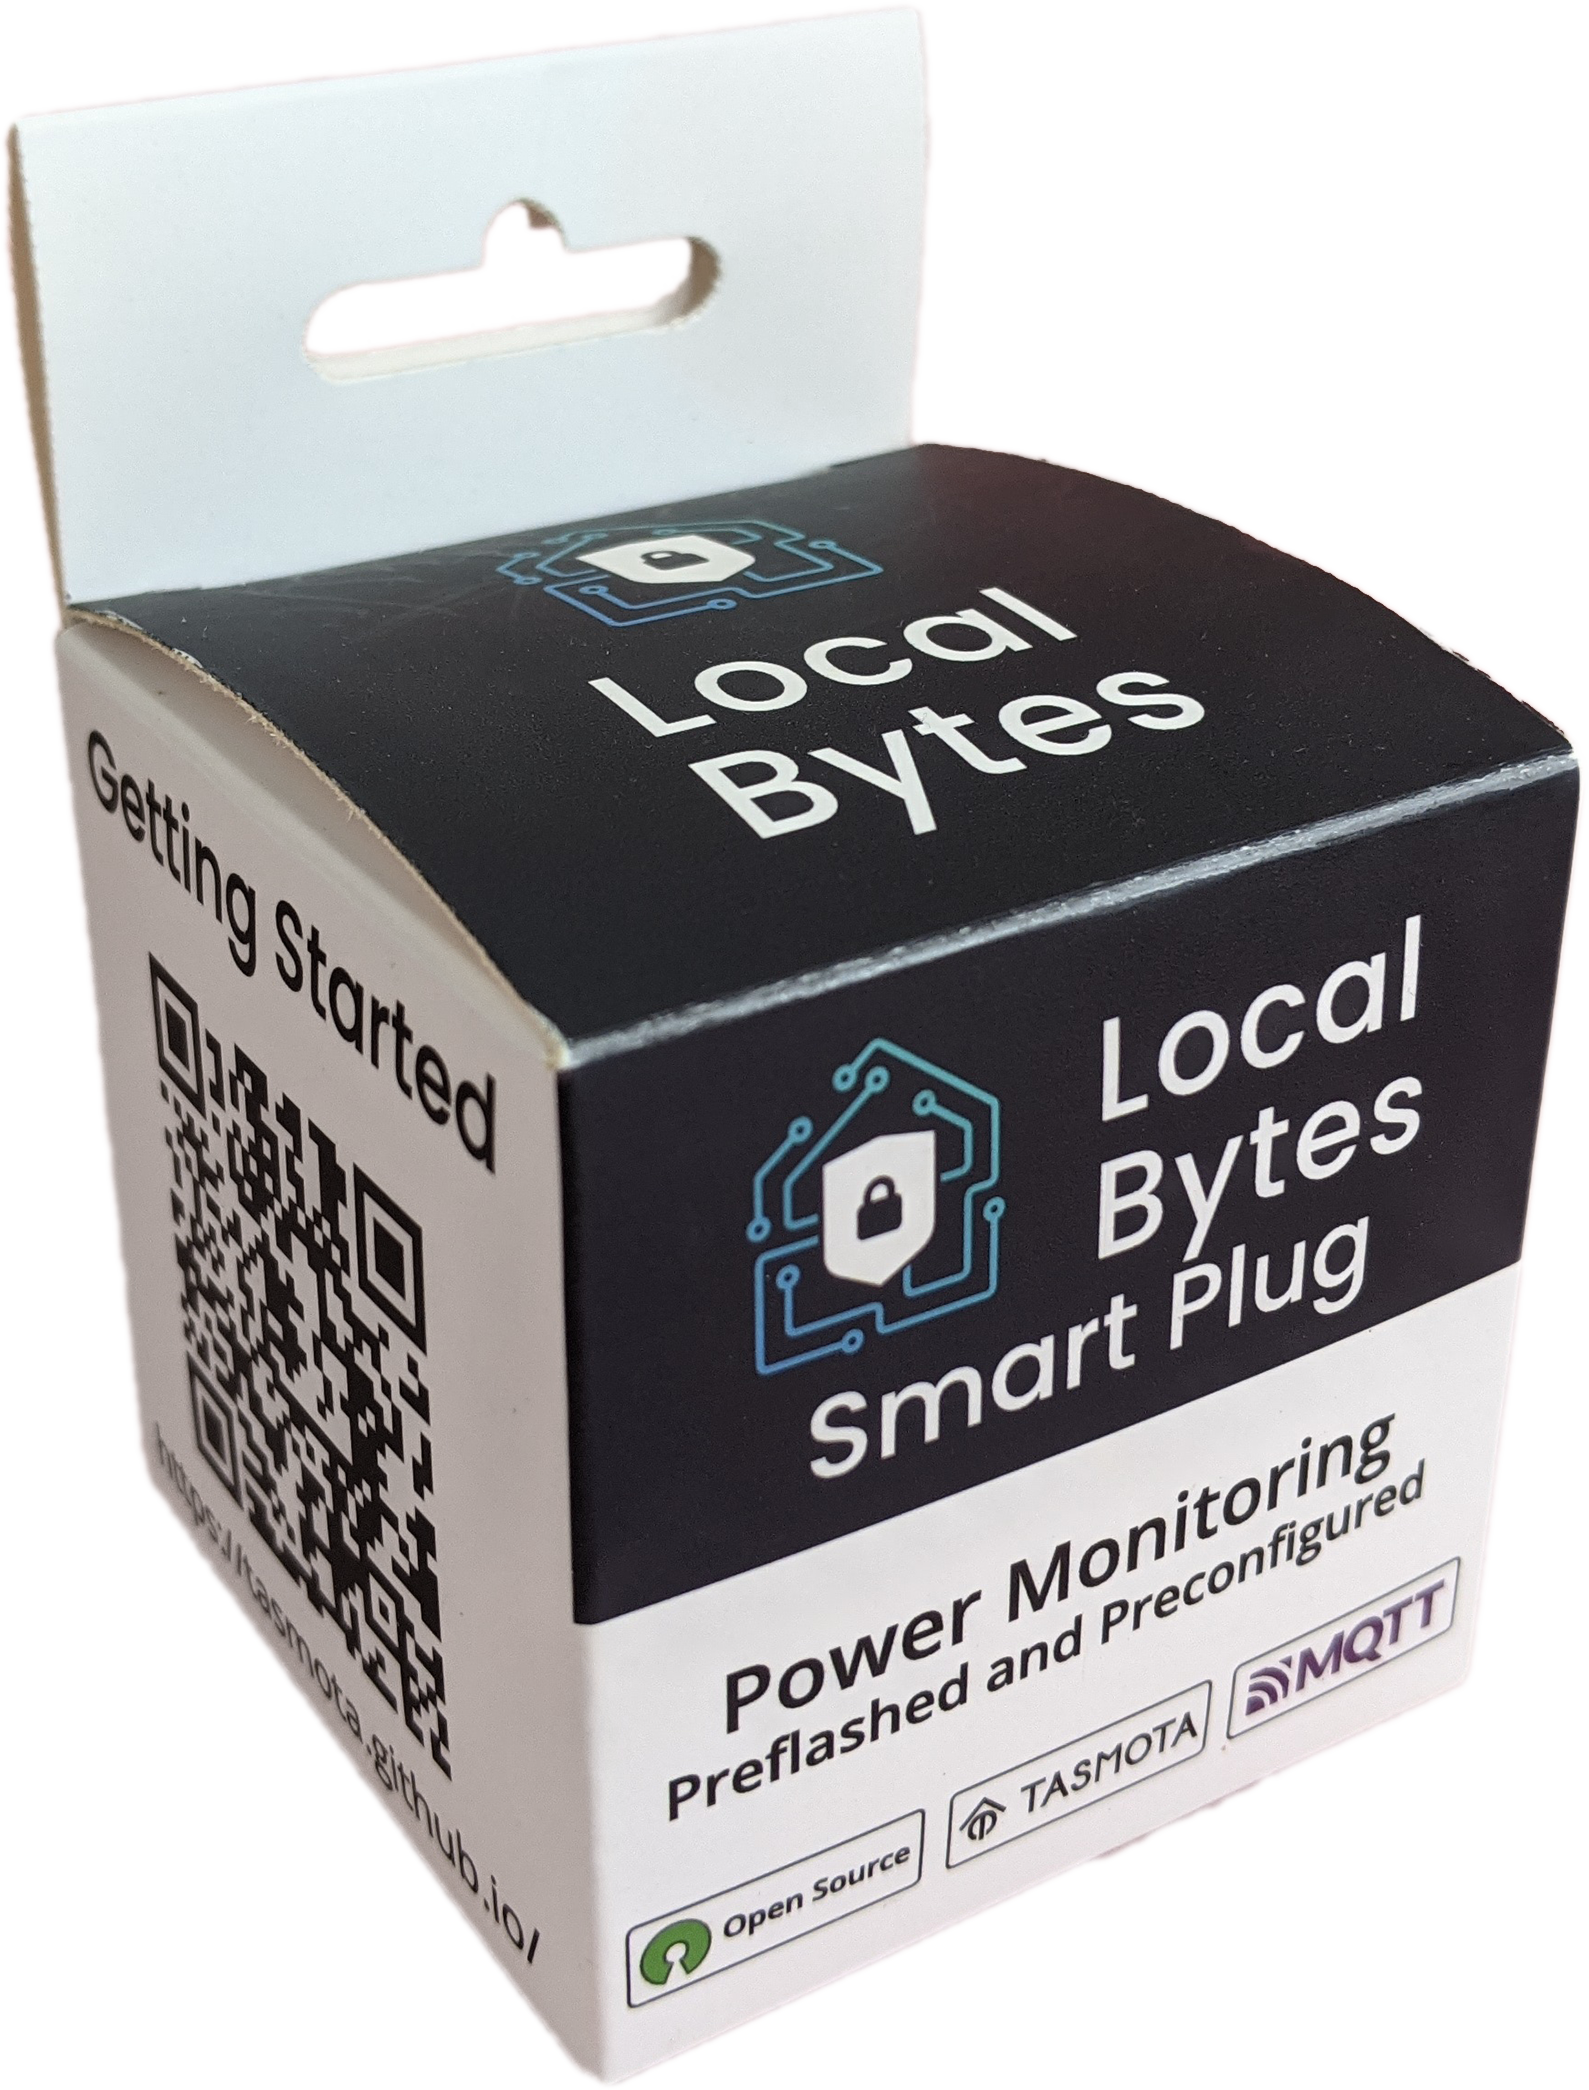
If you're reading this, you're probably looking at one of the following devices:
For this example, we'll be using Home Assistant and the Mosquitto addon
Getting started with Tasmota
Installing & Configuring a Broker — You only need to do this once
To get started, you'll first need a broker. We recommend using the Mosquitto addon.
Installing this is as simple navingating
to Settings → Addons → Mosquitto
, and the clicking "Install"
We recommend enabling "Start on boot" and "Watchdog" to ensure the broker doesn't unexpectedly go down!
Once installed, you'll need to add a set of credentials. You can do this by adding a person (recommended), or adding a set of credentials to the config (great for testing)!
Adding a person (recommended):
- Navigate to Configuration → People
- Click "Add User"
- Add a name (eg: Tasmota), and then select "Allow person to login"
- Add a username and password.
These will be yourMQTT_HOSTandMQTT_PASSWORDin the step Connecting the Devices
Adding a credentials config (great for testing):
- Navigate to Settings → Addons → Mosquitto
- Click "Configuration".
You may need to enable advanced mode (Click on your name in the bottom) if you cannot see this. right → Advanced Mode) - Add the following to the "Logins" box. (Replace
tas-userandtas-passwordwith credentials of your choosing)
- username: tas-user
  password: tas-password
Connecting the Devices
Connecting Tasmota to Wi-Fi:
- Power on the device. This may be plugging it in to the wall, or turning on a light switch.
- Open the Wi-Fi settings on your Mobile Device/Computer.
- Wait until you see a Wi-Fi network that starts with tasmota, join it. Eg "tasmota-ebaec4"
- Either open a browser to 192.168.4.1, or click on the "Sign in to this network" prompt.
- You'll be presented with a list of Wi-Fi networks, select yours and type in the password.
- Take note of the IP address that you are presented with.
Your browser should automatically redirect to the devices new IP address.
Connecting Tasmota to MQTT
- Navigate to the previously presented IP Address.
- Click "Configure Other" and update the Device Name & Friendly Name 1, then click save.
We recommend using the same name value for both - Click "Configure MQTT" and fill in the following details:
- Host - The IP address of you MQTT instance; you can find this
in Settings → System → Network
Depending on your router, you may be able to usehomeassistant.local - Client - This must be unique for the user. The default value will work.
- User - Use the user you previously created.
- Password - Use the password you previously created.
- Host - The IP address of you MQTT instance; you can find this
in Settings → System → Network
- Click Save
Connecting Tasmota to HomeAssistant
Good news!
Providing Home Assistant is set to auto-discover (on by default), your plug/bulb should be discovered automatically.
However, you may need to go to Devices & Integrations -> Add Integration -> Tasmota if it's not discovered at first!
Advanced Configuration
Tasmota has a long list of commands that can be used to configure the device. This ranges from setting up timers and rules, to configuring the LED on the device.
To access these, we recommend using the Tasmota WebUI, and clicking on the "Console" button.
PowerOnState - Changing the Power On State
By default, we set our products to turn on when power is restored. This is great for most use cases; however, you may want to change it to one of the following.
The options for the PowerOnState command are as follows:
- 0 / OFF = keep power(s) OFF after power up
- 1 / ON = turn power(s) ON after power up
- 2 / TOGGLE = toggle power(s) from last saved state
- 3 = switch power(s) to their last saved state
- 4 = turn power(s) ON and disable further power control
- 5 = after a PulseTime period turn power(s) ON (acts as inverted PulseTime mode)
To turn ensure the relay is off initially, you would run the following command in the console: PowerOnState 0
For monitoring the power usage of important devices like a fridge, you would use PowerOnState 4
Tasmota / Docs / Commands / PowerOnState
LedState - Changing the LED Behaviour (Smart Plug)
Our smart plug has a LED on the side that can be configured to show the current state of the plug.
By default, it will reflect the state of the plug; however, you may wish to change this for your use case.
The options for the LEDState command are as follows:
- 0 = disable use of LED as much as possible
- 1 = show power state on LED (LED on when power on) (default) (inverted for Sonoff Touch/T1)
- 2 = show MQTT subscriptions as a LED blink
- 3 = show power state and MQTT subscriptions as a LED blink
- 4 = show MQTT publications as a LED blink
- 5 = show power state and MQTT publications as a LED blink
- 6 = show all MQTT messages as a LED blink
- 7 = show power state and MQTT messages as a LED blink
- 8 = LED on when Wi-Fi and MQTT are connected.
To turn the LED off, you would run the following command in the console: LedState 0


